

Shopify and Meta Ads Integration: Complete Setup Guide
Connect Shopify and Meta with official instructions, privacy checks, payment and duplicate-event tests, and product/collection sync acceptance.
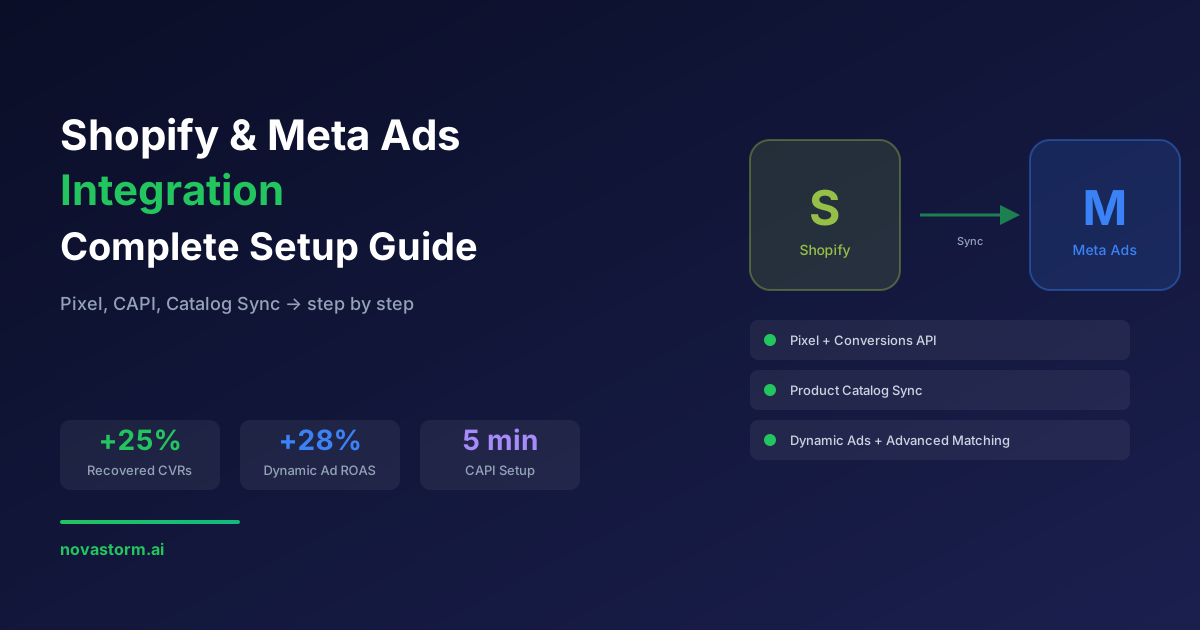
Connect Shopify to the correct Meta assets, then test what the channel actually sends and publishes. A completed installation is not proof of consent handling, accurate purchases or catalog freshness. The acceptance plan below covers a successful payment, a failed payment, a repeat page load, a duplicate integration and a stock update before campaign launch.
Connect the approved assets
Use Shopify’s official setup instructions: install Facebook and Instagram by Meta, start setup for the intended feature, connect the account and required assets, accept the applicable terms and complete setup. Record the store, business portfolio, Page, ad account, dataset/pixel and catalog in a private ownership ledger. Check the actual eligibility and staff permissions; do not assume a particular paid-plan threshold or every asset is required for every feature. Do not publish private asset IDs in public documentation.
Inventory theme code, custom/app pixels, tag-manager tags and third-party apps before changing tracking. Identify which integration owns each event and plan rollback. Disable a duplicate only after confirming it is redundant and the intended replacement passes testing; blindly removing all older tracking can destroy a different required measurement flow.
Choose sharing and validate privacy
Shopify’s Meta data-sharing guide distinguishes browser pixel collection from server Purchase transmission under its described sharing levels. Read the actual available setting and its privacy implications; do not assume every browser event also has a server copy or that Maximum authorizes collection regardless of customer choice. A server route does not justify bypassing an opt-out.
Review notice, market-specific permission and active settings with the responsible owner. Shopify’s customer-privacy guide explains that manually installed third-party pixels may need their own consent logic. Rehearse acceptance, rejection and withdrawal in the configured region using authorized synthetic sessions, recording expected and actual browser/server behavior without storing raw customer identifiers. A visible cookie banner alone does not prove every app honors it.
Define a purchase and its monetary value
Distinguish checkout completion from a captured/retained payment in the business ledger, especially for delayed or failed payment methods. Use the channel’s documented trigger as the tracking contract and reconcile to the payment status rather than relabeling every thank-you-page visit as retained revenue. Shopify’s data-sharing guide describes order-value events using the order total including duties, taxes and discounts; those components are not automatically an implementation error.
Hypothetical reconciliation: merchandise $50 − discount $5 + shipping $4 + tax $3 = $52 charged total. Record the actual event value and its documented composition, then separately calculate net revenue and contribution under the business definition. Do not force a $45 merchandise-only value into the channel simply because an ads report differs from a net-sales report. Currency, refund treatment and observation date must be explicit.
Verify duplicate handling without adding totals
Stop wasting ad budget
NovaStorm AI cuts Meta Ads CPA by 30% on average. No complex setup required.
For a paired browser/server event, inspect the browser event-ID option (commonly eventID), the server event_id, event name and receiving dataset. They must refer to the same underlying action under the integration’s deduplication contract. Meta’s server Event SDK object uses event_id; do not substitute the browser spelling into a server field or regenerate an unrelated ID on a retry. Let the native channel own its implementation unless a supported fix is approved; inspect reported duplicate handling rather than injecting a second Purchase event.
| Acceptance case | Business expectation | Evidence to record |
|---|---|---|
| Successful authorized test payment | One distinct completed action; payment status recorded separately | Browser/server source, identifiers, value/currency and reported duplicate handling |
| Failed or canceled payment | No retained paid revenue | Checkout/event trigger and failed payment state; investigate any Purchase under that contract |
| Thank-you refresh or event retry | No additional unique order | Same business order and reported handling; no inflated ledger count |
| Duplicate app/plugin rehearsal | Only intended integration counts the action | Inventory, controlled disabling/rollback and before/after event evidence |
| Consent rejected or withdrawn | Only behavior allowed by approved region/purpose settings | Actual browser and server transmission behavior, not banner appearance |
This is an acceptance protocol, not an observed store test. Use the channel’s supported testing procedure and keep synthetic orders out of production performance analysis. Events Manager event counts, attributed Ads Manager purchases and paid Shopify orders use different definitions. Record unmatched or delayed records rather than promising a fixed capture percentage. Event Match Quality is not a conversion from a score into “percentage of orders captured” or an exact audience match rate.
Test catalog and collections explicitly
Shopify’s product-publishing guide provides a Product status/Issues check and states that Shopify collections sync to Facebook only for US stores; outside the US, collections can be created from available products in Commerce Manager. Do not assume every collection becomes an advertising product set. Inspect the actual saved product-set membership needed by the campaign.
| Synthetic catalog rehearsal | Acceptance |
|---|---|
| Change one approved variant price and stock | Catalog processed item agrees with the site; correct currency and accepted availability |
| Select another size/color | Event/catalog granularity resolves to the intended variant/group |
| Change intended collection membership | Inspect actual channel collection and advertising product set; record any difference |
| Hide an unavailable product | Verify resulting channel and campaign-set state before restarting affected delivery |
Record source-update, sync-processing and verified-result timestamps. Do not promise a fixed sync delay or a manual refresh button unless it exists in your account. Correct rejected products through the actual reported Issues path and repeat the narrow test; performance testing comes after valid stock, links and payment measurement.
Campaign handoff
Store the approved event and catalog acceptance record with the integration owner. Prepare the campaign brief in NovaStorm and inspect its saved dataset, audience, budget and creative before publication. This handoff does not assume NovaStorm monitors Shopify events or catalog synchronization. Use feed diagnostics for item-level checks and CAPI planning when a separate integration is required.
Published by NovaStorm AI. Worked examples and proposed tests are labeled in the article.
Disclaimer: This article was generated with the assistance of AI and reviewed by the NovaStorm AI team. While we strive for accuracy, we recommend verifying specific data points and consulting official sources (linked where available) for critical business decisions.
Ready to automate your Meta Ads?
NovaStorm AI takes full responsibility for your campaigns — from monitoring to optimization.
Start NowMore on E-commerce catalogs and channels

Product Feed Optimization for Meta Dynamic Ads
Validate a stable-ID product feed, price and stock updates, then isolate title testing on the same products with mature contribution reporting.
WooCommerce and Meta Ads: Complete Integration and Optimization
Validate Meta for WooCommerce against confirmed payment, variation identity, consent and duplicate delivery before preparing campaigns.
BigCommerce Meta Ads Setup: Catalog and Pixel Configuration
Verify BigCommerce catalog IDs and paid-order events with a webhook ledger, consent checks and a synthetic release matrix.
Magento and Meta Ads: Enterprise E-commerce Advertising Guide
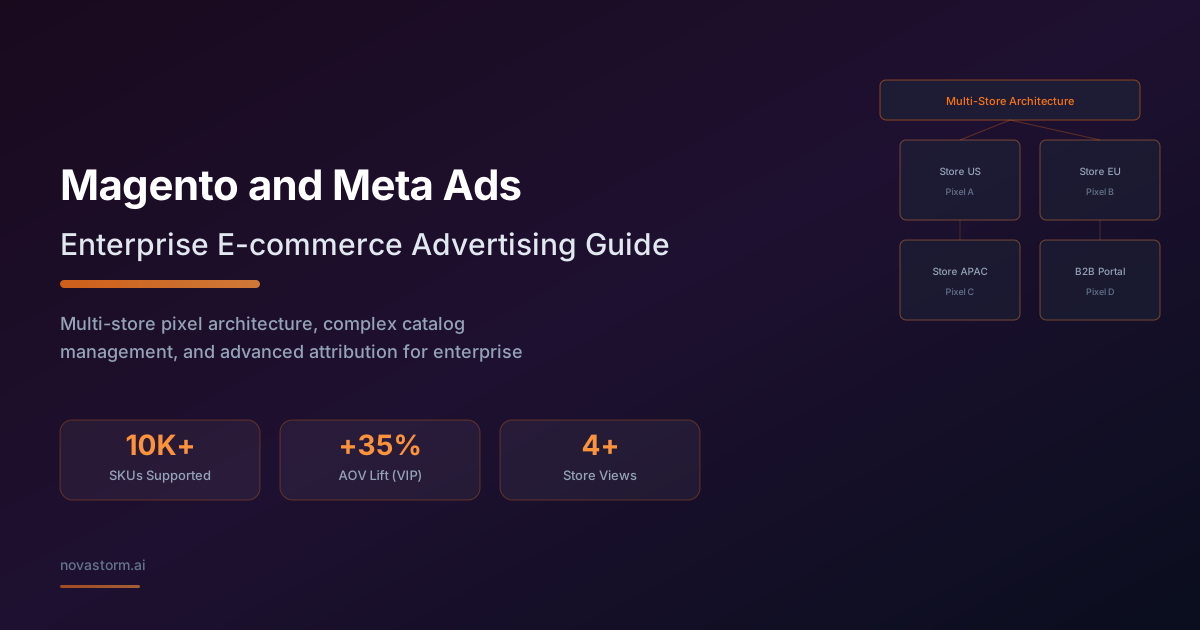
Plan Magento and Meta integration with paid-order queues, consistent variant IDs and market-level reconciliation.